Traditional canvas tool bags—those rugged, heavy-duty carriers favored by electricians, carpenters, plumbers, and mechanics for decades—are built to last. Made from sturdy cotton duck canvas, they offer excellent durability and breathability. However, constant exposure to dirt, moisture, oils, and weather can cause the fabric to weaken, stain permanently, or even develop mold if neglected. Regular cleaning and waterproofing not only restore your bag’s appearance but extend its lifespan by years, protect your expensive tools from rust and damage, and maintain the bag’s structural integrity. This comprehensive step-by-step guide walks you through the entire process safely and effectively, using proven methods that preserve the natural strength of the canvas. Whether your bag is a classic Filson-style or a generic tradesman favorite, following these instructions will have it looking and performing like new.
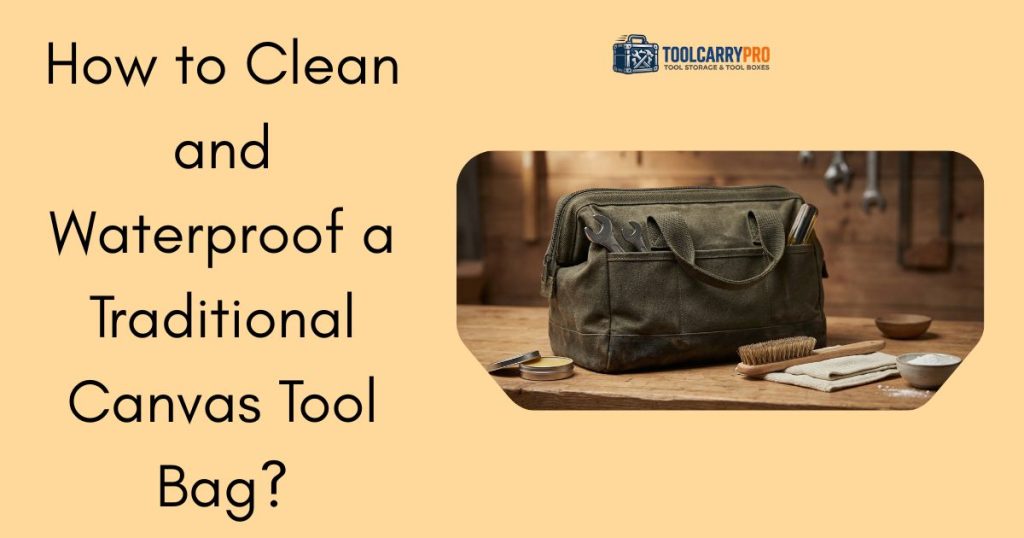
Why Cleaning and Waterproofing Matters for Longevity?
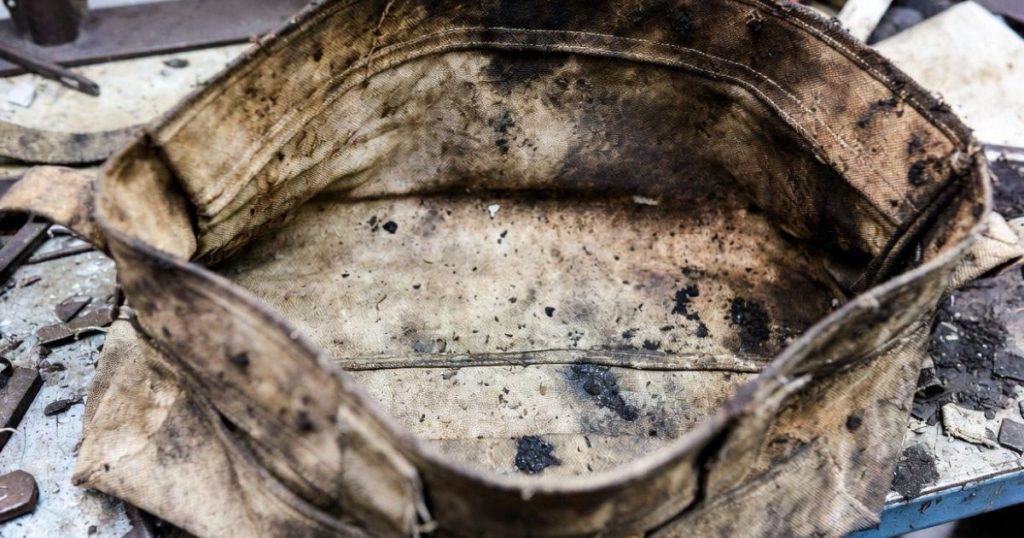
Canvas tool bags are designed for tough jobs, but without maintenance they absorb moisture like a sponge, leading to mildew, rot, and weakened seams. Dirt and grime grind into the fibers, causing abrasion and premature wear. A clean, properly waterproofed bag repels water, prevents tool corrosion, and keeps your gear organized and accessible even in rain or dusty conditions. Tradesmen who maintain their canvas bags report them lasting 10–15 years or more, compared to just 3–5 years for neglected ones. Investing an hour or two every few months saves hundreds in replacement costs and keeps your workflow efficient.
Materials You’ll Need
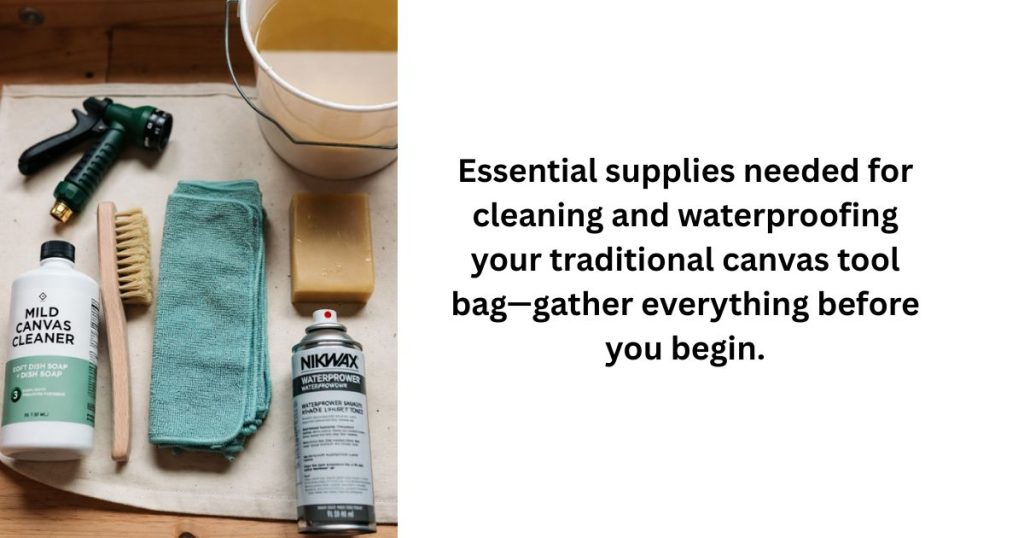
Before starting, assemble these items for best results:
- Mild soap or specialized canvas cleaner (avoid harsh detergents)
- Soft-bristle brush or nylon brush
- Microfiber cloths or old towels
- Garden hose or bucket for rinsing
- Beeswax or canvas-specific waterproofing spray/wax (e.g., Nikwax Cotton Proof or Fjällräven Greenland Wax)
- Optional: Leather conditioner if your bag has leather straps
- Protective gloves and eye protection
These are inexpensive and readily available at hardware stores or online. Choose products labeled safe for cotton canvas to avoid damaging the fibers.
Step-by-Step Cleaning Process
Cleaning a canvas tool bag requires care to avoid shrinking or weakening the material. Work outdoors or in a well-ventilated area.
Preparing and Emptying the Bag
Start by emptying the bag completely. Remove all tools, pockets, and liners. Shake out loose debris. Turn the bag inside out and vacuum or brush the interior seams. This prevents tools from scratching the fabric during cleaning and allows full access to every surface.
Removing Loose Dirt and Debris
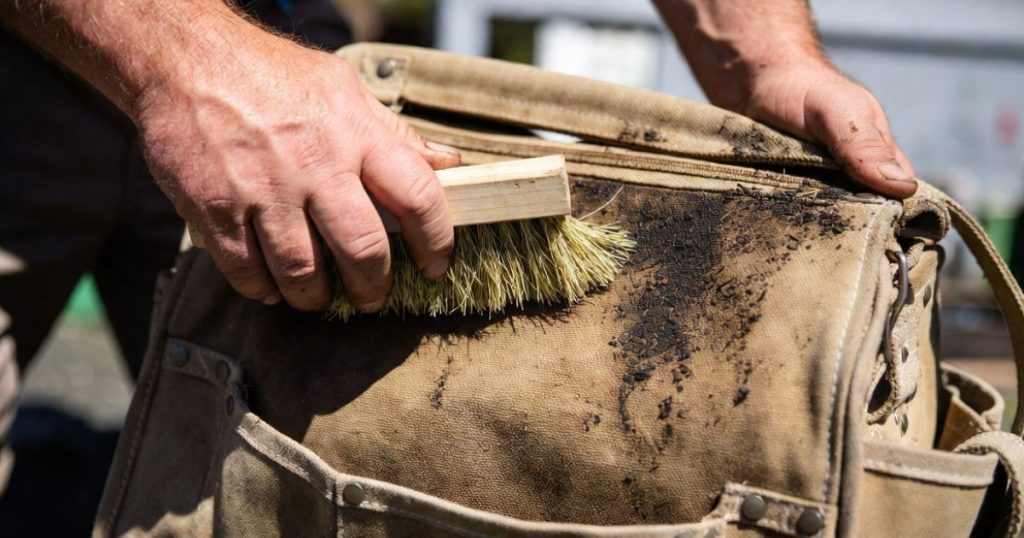
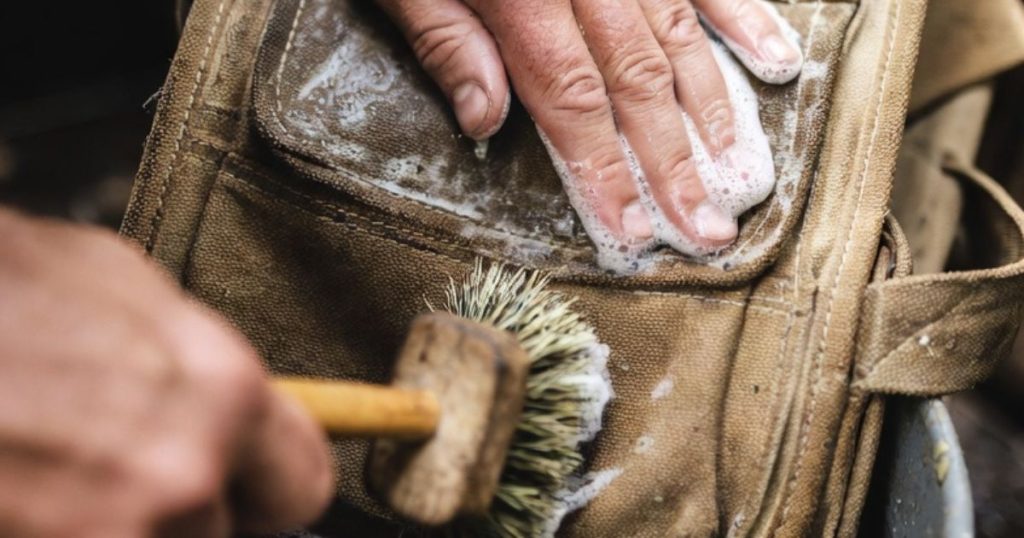
Use a soft-bristle brush to gently sweep away surface dirt, sawdust, and dried mud. Work in circular motions from top to bottom. For stubborn spots, lightly dampen the brush. Avoid aggressive scrubbing at this stage to prevent pushing particles deeper into the weave.
Washing the Canvas Thoroughly
Mix a solution of warm water and a small amount of mild soap (1 tablespoon per gallon). Dip the brush or a cloth into the solution and gently scrub the entire exterior and interior. Focus on high-wear areas like the bottom, pockets, and seams. For grease or oil stains, apply a paste of baking soda and water, let it sit 15 minutes, then scrub. Rinse thoroughly with a hose using low pressure—never use a pressure washer, as it can tear the canvas. Work in sections to avoid soaking the bag excessively.
Proper Drying Techniques
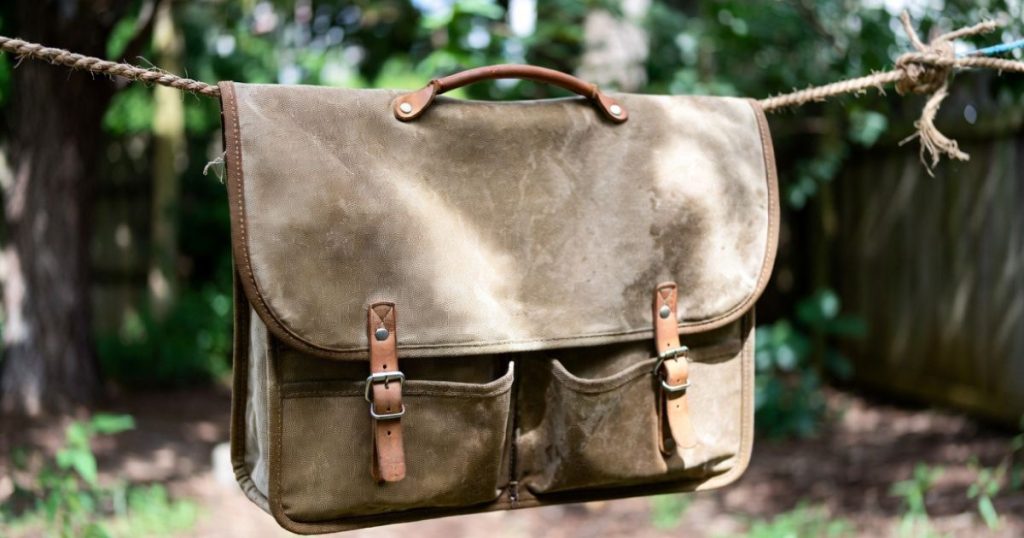
Never tumble-dry or place a canvas tool bag in direct sunlight, as heat can cause shrinkage and brittleness. Instead, hang it upside down in a shaded, well-ventilated area with good airflow. Use a sturdy hanger or clothespins on the top edge. Stuff the interior lightly with clean towels to help maintain shape while drying. Allow 24–48 hours for complete drying, depending on humidity. Check seams and pockets for remaining moisture to prevent mold.
Effective Waterproofing Methods
Once fully dry, waterproofing restores the bag’s ability to repel water and stains.
Choosing the Right Waterproofing Product
For traditional canvas, two excellent options exist: wax-based treatments (beeswax or Greenland Wax) for a natural, breathable finish, or modern fluorocarbon-free sprays like Nikwax for easier application. Wax provides superior heavy-duty protection for outdoor trades work, while sprays are quicker for lighter use. Always test a small inconspicuous area first.
Applying the Waterproofing Treatment
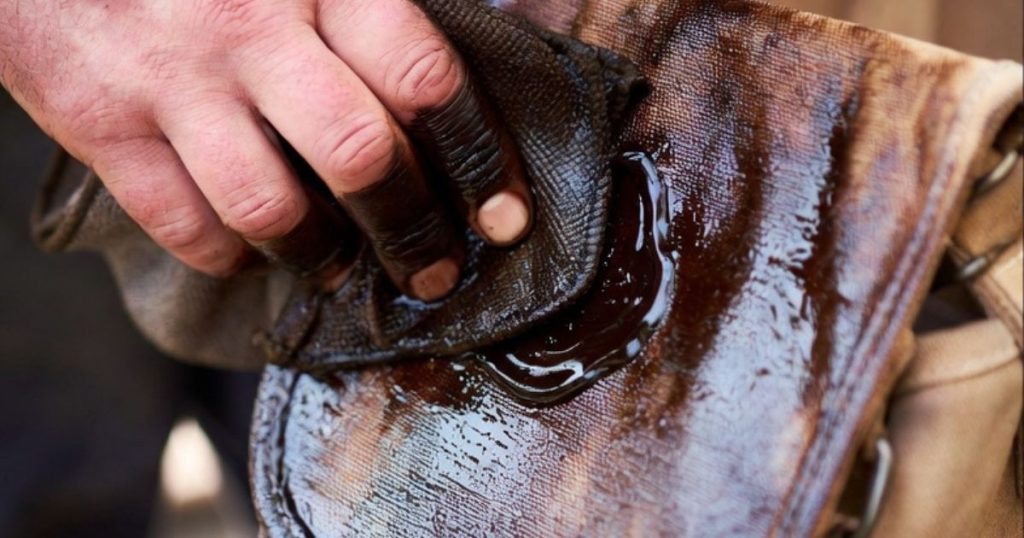
For wax: Rub a block of beeswax or melted wax evenly over the entire surface using a clean cloth in circular motions. Focus on seams and stress points. Then use a hair dryer on low heat or an iron (with cloth barrier) to melt the wax into the fibers for deep penetration. For spray: Hold the can 6–8 inches away and apply in even, overlapping coats until the canvas darkens slightly. Apply two coats, allowing 30 minutes drying between. Let the bag cure for 24 hours before use.
Ongoing Maintenance and Storage Tips
To keep your bag performing optimally:
- Spot-clean minor stains immediately with a damp cloth.
- Re-waterproof every 6–12 months or after heavy rain exposure.
- Store in a cool, dry place away from direct sunlight when not in use.
- Condition any leather straps or handles separately with leather balm.
- Avoid overloading the bag beyond its designed capacity to prevent seam stress.
These habits add years to your investment and maintain professional appearance on the job.
Common Mistakes to Avoid
Many tradesmen damage their canvas bags by using bleach, machine washing, or high-heat drying. These cause fading, shrinkage, or fiber breakdown. Never store a damp bag, as mold grows rapidly in enclosed spaces. Over-applying waterproofing can make the canvas stiff—follow product instructions precisely.
Conclusion: Protect Your Trusted Tool Companion
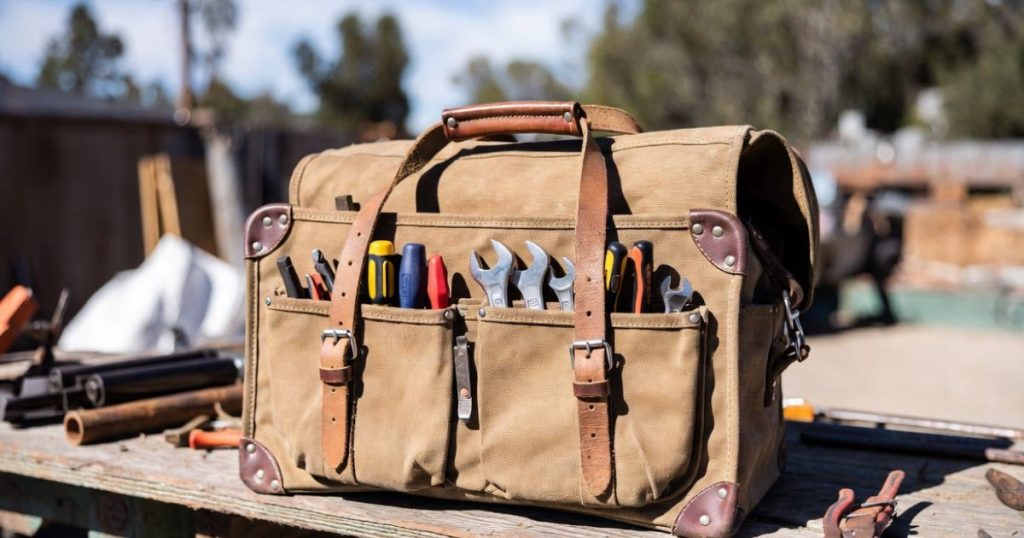
Cleaning and waterproofing a traditional canvas tool bag is a simple, cost-effective way to preserve a piece of equipment that carries your livelihood. By following these detailed steps, you’ll remove years of built-up grime, restore water resistance, and ensure your bag remains strong, functional, and professional-looking. The entire process takes just 2–3 hours but delivers results that pay off every single workday. Treat your canvas tool bag right, and it will continue to serve you faithfully through countless jobs and projects.