If your go-to tote bag has become a chaotic black hole of tangled tools, loose screws, and frustration, you're not alone. Many tradespeople, DIY enthusiasts, and weekend warriors start with a simple, affordable canvas or nylon tote only to watch it devolve into a cluttered mess after a few jobs. The solution? A dedicated tool bag organizer—an insertable divider system that transforms any ordinary tote into a professional-grade, highly efficient storage solution. This upgrade costs a fraction of a new tool bag yet delivers massive improvements in speed, organization, and tool protection. In this comprehensive guide, we'll explore everything from selecting the right organizer to a step-by-step transformation process, complete with real-world tips and visuals. Whether you're an electrician hauling wire cutters or a carpenter managing nails and hammers, this simple hack can revolutionize your workflow in under an hour.
What Is a Dedicated Tool Bag Organizer?
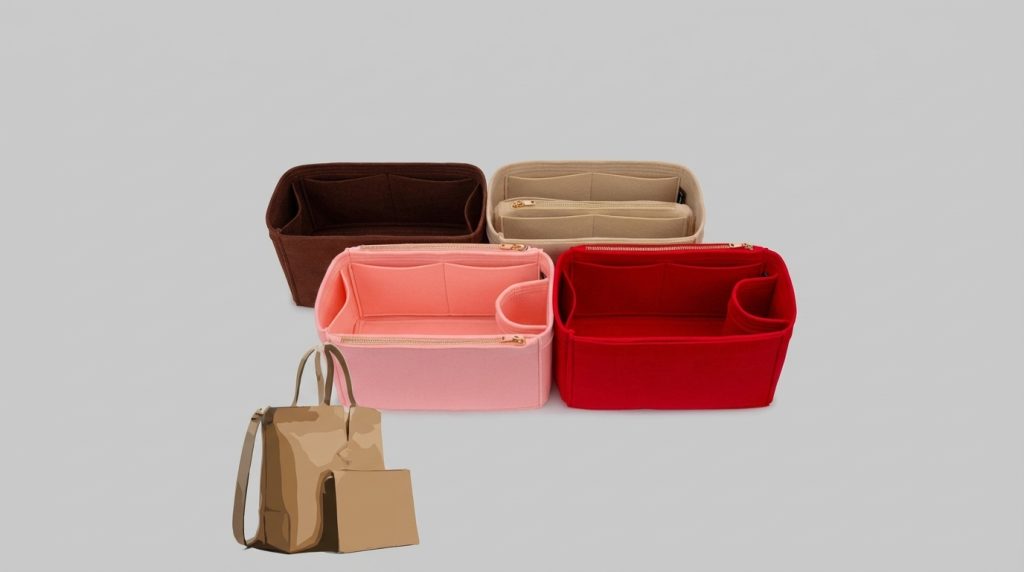
A dedicated tool bag organizer is a freestanding or semi-rigid insert—typically made from heavy felt, reinforced fabric, or lightweight plastic—that fits snugly inside a standard tote bag. It features multiple compartments, pockets, loops, and dividers designed specifically for hand tools, power tools, fasteners, and accessories. Unlike built-in tool bags with fixed layouts, these organizers let you upgrade an existing tote without discarding it.
Key Features and Materials
Most organizers range from 10-18 inches wide to match common tote dimensions. High-quality versions use 3-5mm thick felt for structure, with reinforced stitching and sometimes waterproof linings. They include 15-30 pockets of varying sizes: tall slots for hammers and levels, zippered sections for small parts, and elastic loops for screwdrivers or pliers. Some models even have removable dividers for customization.
Popular Types
- Felt Inserts: Lightweight, collapsible, and affordable ($15-40). Ideal for occasional users.
- Rigid Panel Organizers: Offer more structure with hardboard bases for heavy loads.
- Modular Systems: Allow adding or removing sections as your tool collection grows.
Why Upgrade from a Cluttered Tote?
A disorganized tote wastes precious minutes on every job—digging for the right tool, dealing with scratched equipment, or risking lost items. A dedicated organizer fixes this by creating a logical home for every tool, turning chaos into efficiency.
Major Benefits
Time Savings and Workflow Efficiency
Organized access can cut retrieval time by 50-70%, according to trade surveys. No more dumping everything out to find a tape measure—everything stands upright and visible.
Tool Protection and Longevity
Padded compartments prevent tools from banging together, reducing wear on sharp edges and delicate electronics. Fasteners stay separated, avoiding spills that lead to lost revenue on job sites.
Cost-Effective Portability
For under $50, you transform a $20 tote into something rivaling $150+ dedicated bags. It's lightweight (adds under 2 pounds) and easy to carry, perfect for mobile workers.
Step-by-Step Guide to the Transformation
Transforming your tote is straightforward and requires no special skills. Follow these detailed steps for professional results.
Step 1: Assess and Empty Your Current Tote
Dump everything onto a clean surface. Sort tools by category: hand tools, power tools, fasteners, safety gear. Discard or relocate duplicates and junk. Measure your tote's interior dimensions (length, width, height) to select a properly fitting organizer.

Pro Tip for Sorting
Use the 80/20 rule—keep the 20% of tools you use 80% of the time in the most accessible pockets.
Step 2: Select and Prepare the Organizer
Choose based on your tote size and tool volume. Test-fit before buying if possible. For a snug install, slightly compress the organizer edges during insertion.
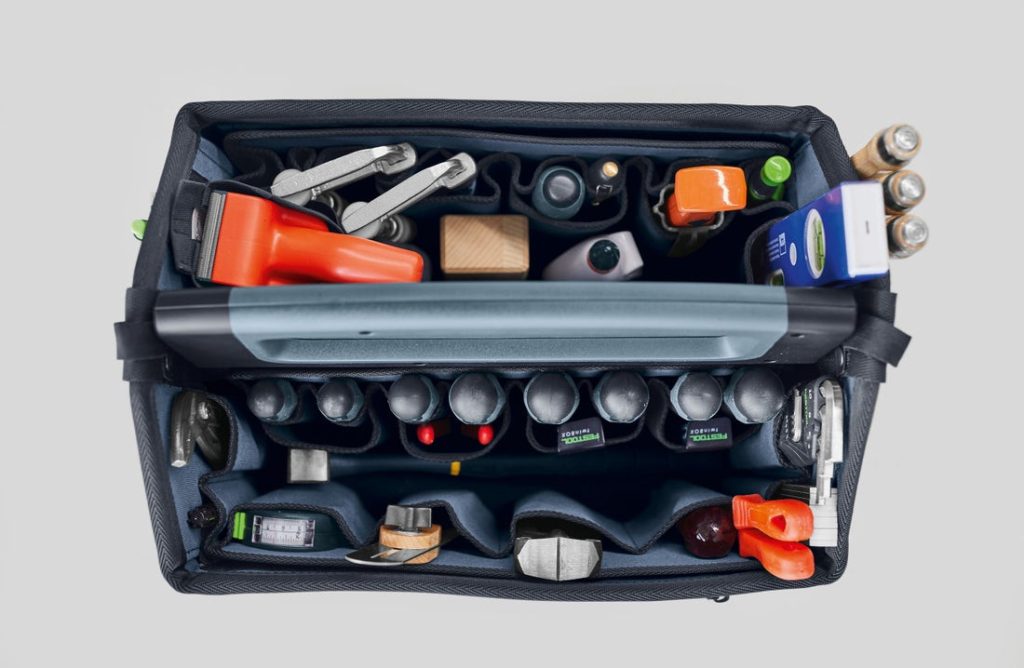
Step 3: Install the Organizer
Slide the organizer into the empty tote. Press firmly into corners for stability. Some models include Velcro or straps to secure them permanently. Adjust any dividers for your specific layout.
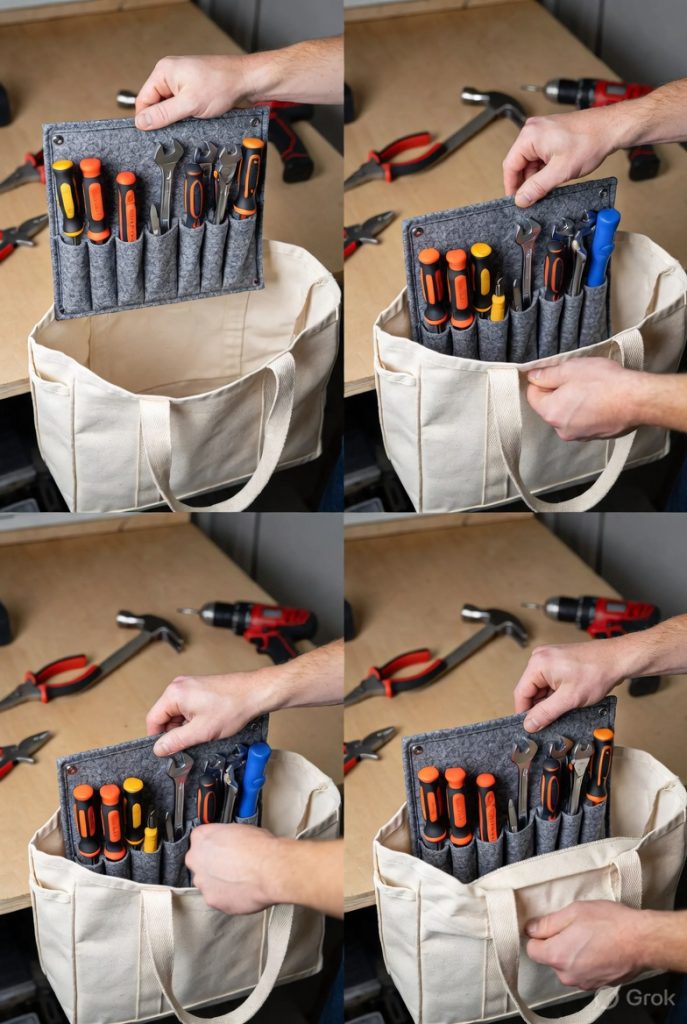
Step 4: Load and Customize Your Tools
Place frequently used items in exterior or top-access pockets. Heavier tools go at the bottom for balance. Use small pouches for bits and blades. Label pockets with a marker for quick identification.
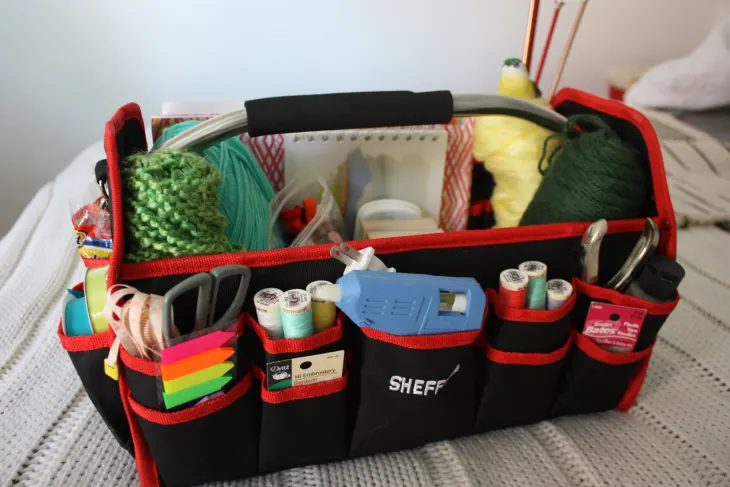
Final Organization Hacks
Group by trade: electricians prioritize multimeter slots; plumbers focus on pipe tool loops. Test the loaded bag by carrying it around—redistribute weight if it tips.
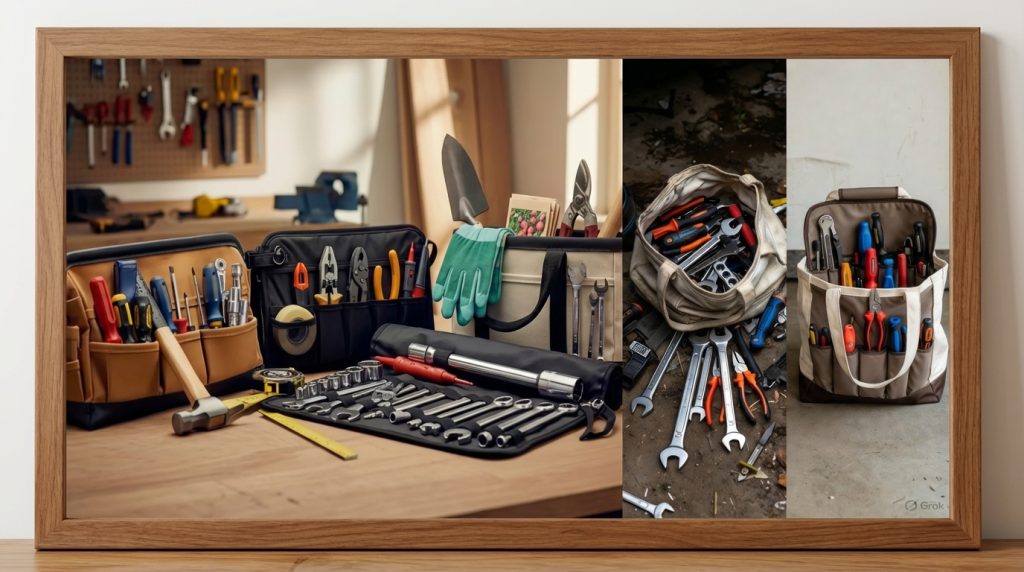
Real-World Performance and Before-and-After Results
Users report dramatic improvements. A plumber in a busy urban area noted cutting job setup time from 15 minutes to under 5. The organized tote stays balanced on ladders and in truck beds, unlike sagging cluttered versions.
Potential Drawbacks and How to Overcome Them
While highly effective, organizers aren't flawless. Cheap felt versions may compress under very heavy loads, and they lack the weather resistance of full leather bags. If the fit isn't exact, the insert can shift—fix this with double-sided tape or custom trimming. Maintenance involves occasional vacuuming and spot-cleaning; avoid overloading beyond the tote's capacity to prevent tears.

Choosing the Right Organizer for Your Needs
Consider tote material (canvas holds inserts best), tool count (count your items), and budget. Read reviews for durability ratings. Brands like those offering modular felt systems score high for versatility. Test in-store if possible, or order with free returns. For heavy-duty trades, pair with a reinforced-bottom tote.
Long-Term Maintenance and Upgrades
Once transformed, maintain by emptying monthly to remove debris. Condition any leather accents on tools. As your kit grows, upgrade to larger organizers or add secondary pouches. Many users eventually expand to multiple totes for specialized jobs.
Conclusion
Transforming a cluttered tote with a dedicated tool bag organizer is one of the smartest, most affordable upgrades any tool user can make. In just a few simple steps, you gain lightning-fast access, superior protection, and professional-level organization—all without buying an expensive new bag. The before-and-after difference is striking: from frustration to flow, from mess to mastery. Start today by auditing your current tote, measuring carefully, and investing in the right insert. Your future self—and your workflow—will thank you. With consistent use and minor tweaks, this system can last years, proving that sometimes the best tools aren't the newest ones—they're the smartest organized ones.