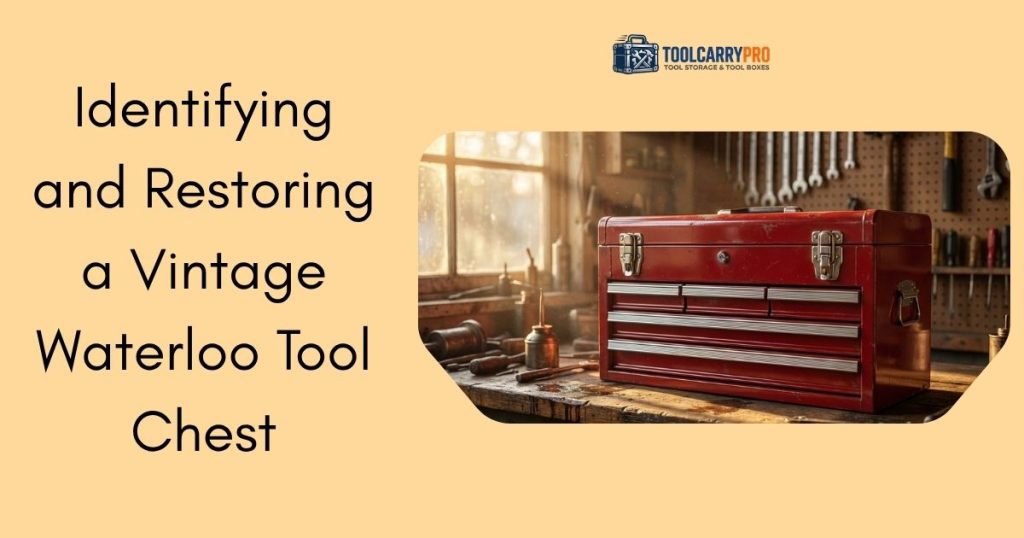
Vintage tool chests represent more than just storage—they embody the craftsmanship of mid-20th-century American manufacturing. Among these classics, Waterloo tool chests stand out for their robust steel construction, practical designs, and enduring appeal to mechanics, hobbyists, and collectors. Produced by Waterloo Industries in Waterloo, Iowa (originally tied to the Waterloo Valve Spring Compressor Company), these chests date primarily from the 1960s through the 1980s. Many were sold under private labels like Craftsman, making identification a rewarding challenge. Restoring one transforms a rusty relic into a functional heirloom that can last another lifetime. This guide covers identification, assessment, and a detailed restoration process, drawing on proven techniques to preserve authenticity while achieving professional results. Whether you found yours at a garage sale or inherited it from a family mechanic, proper care revives its utility and value.
History of Waterloo Tool Chests
Origins and Evolution
Waterloo Industries began as a small Iowa manufacturer focused on automotive tools before expanding into tool storage in the post-World War II era. By the 1960s, the company had established a reputation for affordable, heavy-duty steel chests built for professional garages and home workshops. Early models featured simple, rounded edges and sheet-metal handles, while later 1970s–1980s versions incorporated ball-bearing drawer slides and locking mechanisms for added security. Production emphasized durability over aesthetics, using thick-gauge steel that resisted dents better than many modern alternatives. The company eventually ceased operations, but its legacy lives on in countless garages. Vintage Waterloo chests often appear in red, blue, or gray finishes, with some bearing Sears Craftsman markings due to OEM partnerships.
Why Collect and Restore Them?
Unlike today's lightweight plastic or thin-sheet imports, Waterloo chests offer superior strength and a timeless industrial look. Restoring one not only saves money compared to new high-end boxes but also connects you to automotive history. A well-preserved example can hold thousands of dollars in tools while serving as a conversation piece.
Identifying an Authentic Vintage Waterloo Tool Chest
Key Features and Markings
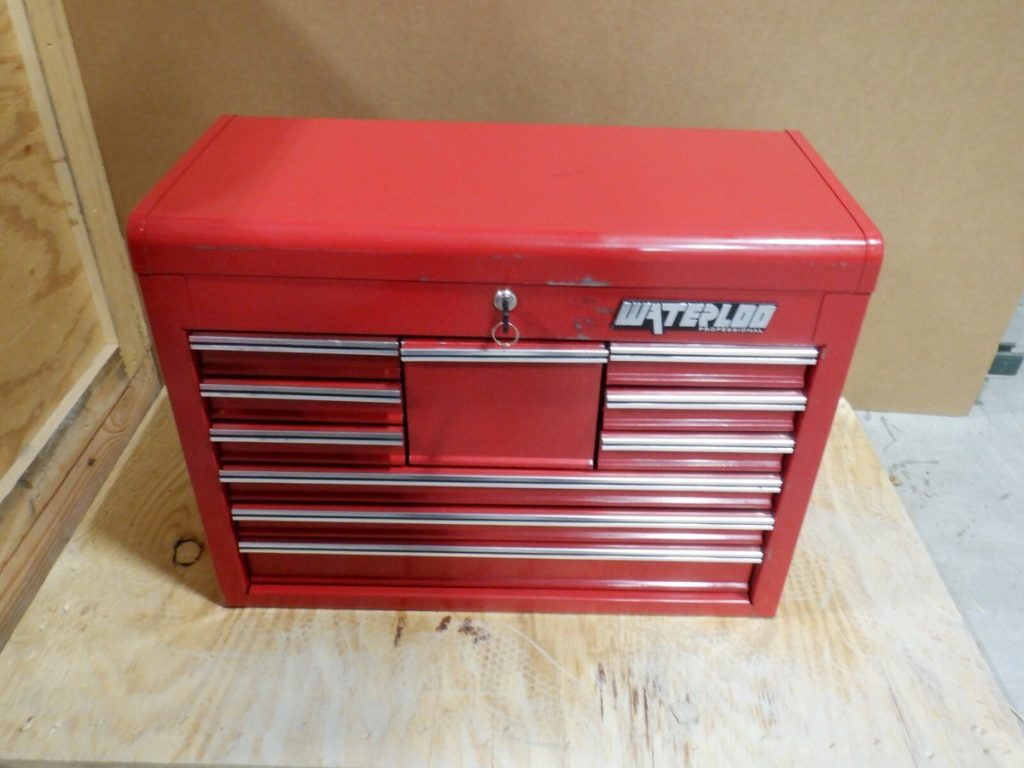
Look for the bold “WATERLOO” logo stamped or embossed on the front panel or lid. Early models (1960s) show rounded tabs where sides wrap around the front, paired with basic sheet-metal pulls. Later ones feature chrome-plated handles and more refined drawer glides. Check the top compartment’s horizontal surface for stamped manufacturing dates—often just the year or a code sequence. Model numbers like WI-1000 or JL-900 frequently appear on drawer tags or interior labels.
Serial Numbers, Dates, and Common Models
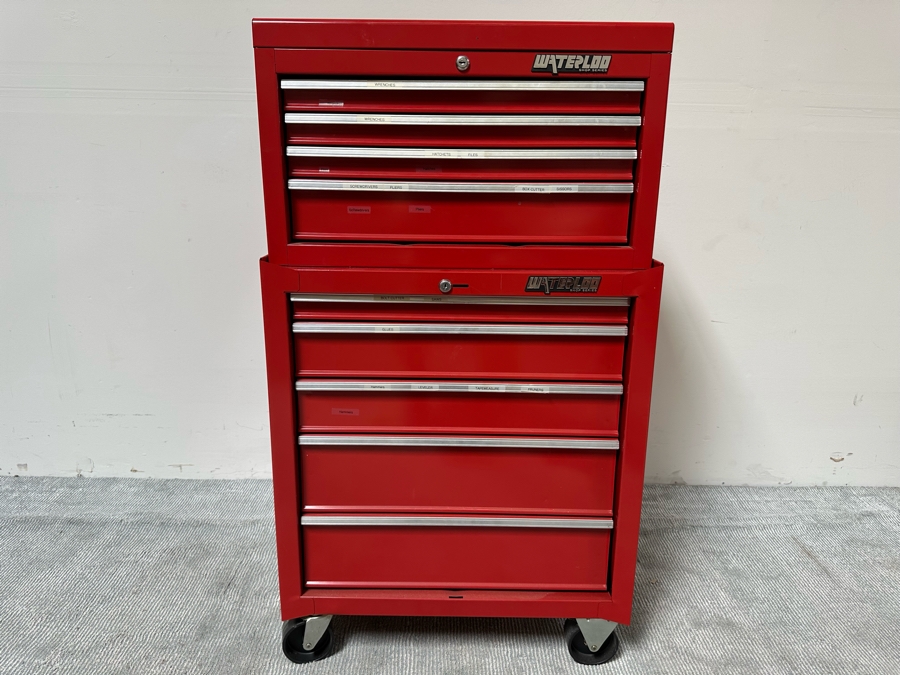
Serial numbers or date stamps are typically found inside the lid or on the back panel. A four-digit code might indicate the year (e.g., 79 for 1979). Common models include the compact top chests (two to four drawers) and rolling base cabinets with larger drawers. Craftsman-branded versions with a “706” prefix confirm Waterloo manufacture. Avoid modern knockoffs by verifying the heavy steel gauge (at least 18–20 gauge) and solid riveted construction rather than spot welds common in cheaper replicas
Inside Layout and Construction Clues
Open the drawers to inspect felt or liner material (often worn or missing in vintage units) and compartmentalized trays. Authentic chests have smooth-sliding drawers with positive stops to prevent accidental pull-outs. The interior steel shows consistent factory paint or bare metal where liners were applied.
Assessing the Condition Before Restoration
Common Issues in Vintage Units
Rust is the primary enemy, especially on lower sections exposed to garage floors. Dents, scratches, and flaking paint appear from decades of use. Check for bent drawer slides, missing keys, or seized locks. Structural integrity matters most—ensure the frame isn’t twisted and drawers align properly. Minor surface rust is fixable; deep pitting may require more aggressive repairs.
Evaluating Value and Feasibility
A heavily rusted chest in good structural shape might cost $50–$200 unrestored but could fetch $300+ after restoration. Factor in time: a full project takes 10–20 hours spread over weekends. If the chest is a rare early model with original decals, prioritize preservation over full repaint.
Tools and Materials Needed for Restoration
Gather safety gear first: gloves, goggles, and a respirator. Essential supplies include degreaser (e.g., Simple Green or Zep), paint stripper (citrus-based for safety), 80–400 grit sandpaper, wire brushes, a wire wheel for drills, rust converter or inhibitor, Rust-Oleum primer, and enamel paint matching the original color (often “Safety Red” or Battleship Gray). Replacement hardware like drawer pulls or felt liners is available online. Tools: socket set for disassembly, putty knife, body filler for dents, and a paint gun or spray cans for even coverage.
Step-by-Step Restoration Guide
Disassembly and Initial Cleaning
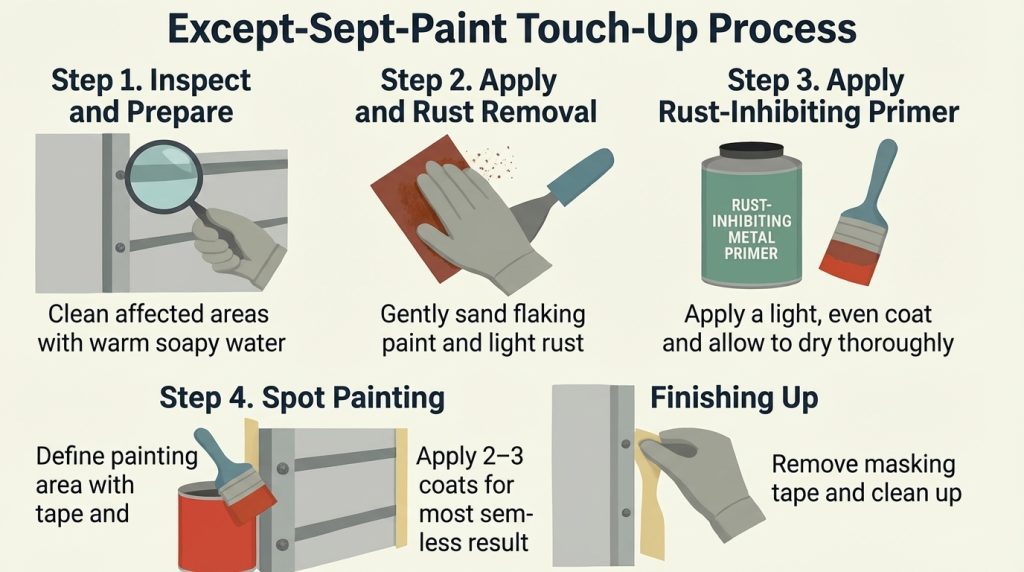
Remove drawers, trays, and hardware. Label everything for reassembly. Degrease thoroughly with hot soapy water and a scrub brush to remove decades of grease and grime. This step prevents contamination during later stages.
Rust Removal and Surface Preparation
Apply paint stripper or use mechanical methods like a wire wheel and 80-grit sandpaper for heavy rust. For stubborn areas, electrolysis (using a battery charger and baking soda solution) safely lifts rust without damaging metal. Rinse, neutralize with vinegar, and dry immediately to avoid flash rust. Sand progressively to 220 grit for a smooth base.
Repairing Dents, Scratches, and Hardware
Use a rubber mallet or body hammer to gently push out dents from the inside. Fill deep scratches with auto body filler, then sand flush. Replace broken slides or handles with period-correct parts. Lubricate drawer tracks with lithium grease for smooth operation.
Priming and Painting
Mask off non-painted areas. Apply two thin coats of rust-inhibiting primer, allowing full drying between layers. Follow with three to four light coats of enamel paint, sanding lightly between coats for a factory-like finish. Clear coat optional for extra durability and gloss. Cure fully (7–10 days) before reassembly.
Reassembly and Final Touches
Reinstall liners or add new felt. Organize drawers logically—sockets in one, wrenches in another. Test locks and slides. A light coat of paste wax on exterior surfaces protects the new finish.
Reassembly, Organization, and Display
Once restored, position the chest in a dry area away from direct moisture. Add drawer organizers for efficiency. Many enthusiasts mount vintage decals or stencils to enhance authenticity. Pair it with matching risers or side cabinets for a complete workstation.
Maintenance and Long-Term Preservation Tips
Wipe down weekly with a microfiber cloth and mild cleaner. Apply a rust-preventive oil like Penetrol to bare metal edges annually. Avoid overloading drawers—distribute weight evenly. Store in a climate-controlled space to prevent humidity issues. With proper care, your Waterloo chest will serve reliably for decades while increasing in sentimental and monetary value.
Restoring a vintage Waterloo tool chest is a satisfying blend of detective work and hands-on craftsmanship. From spotting that telltale logo to watching fresh paint transform dull metal into gleaming red, the process reconnects you with a piece of industrial heritage. Whether it holds family heirloom tools or your latest project kit, the result is more than storage—it’s a legacy preserved. Total project cost typically stays under $150 in materials, yielding a chest worth far more in utility and pride. Start small, work methodically, and enjoy the journey. Your restored Waterloo will reward you every time you reach for a tool.